The Importance of Professional Installation of Structured and Fiber Optic Cabling
A Guide to Fiber Optic Installation

The Beginner's Guide to Fiber Optic Installation
Fiber optic technology has revolutionized the world of telecommunications, offering faster and more reliable connections than traditional copper cables. If you're new to the world of fiber optics and interested in learning about installation, this beginner's guide will help you understand the basics and get started.
Understanding Fiber Optics
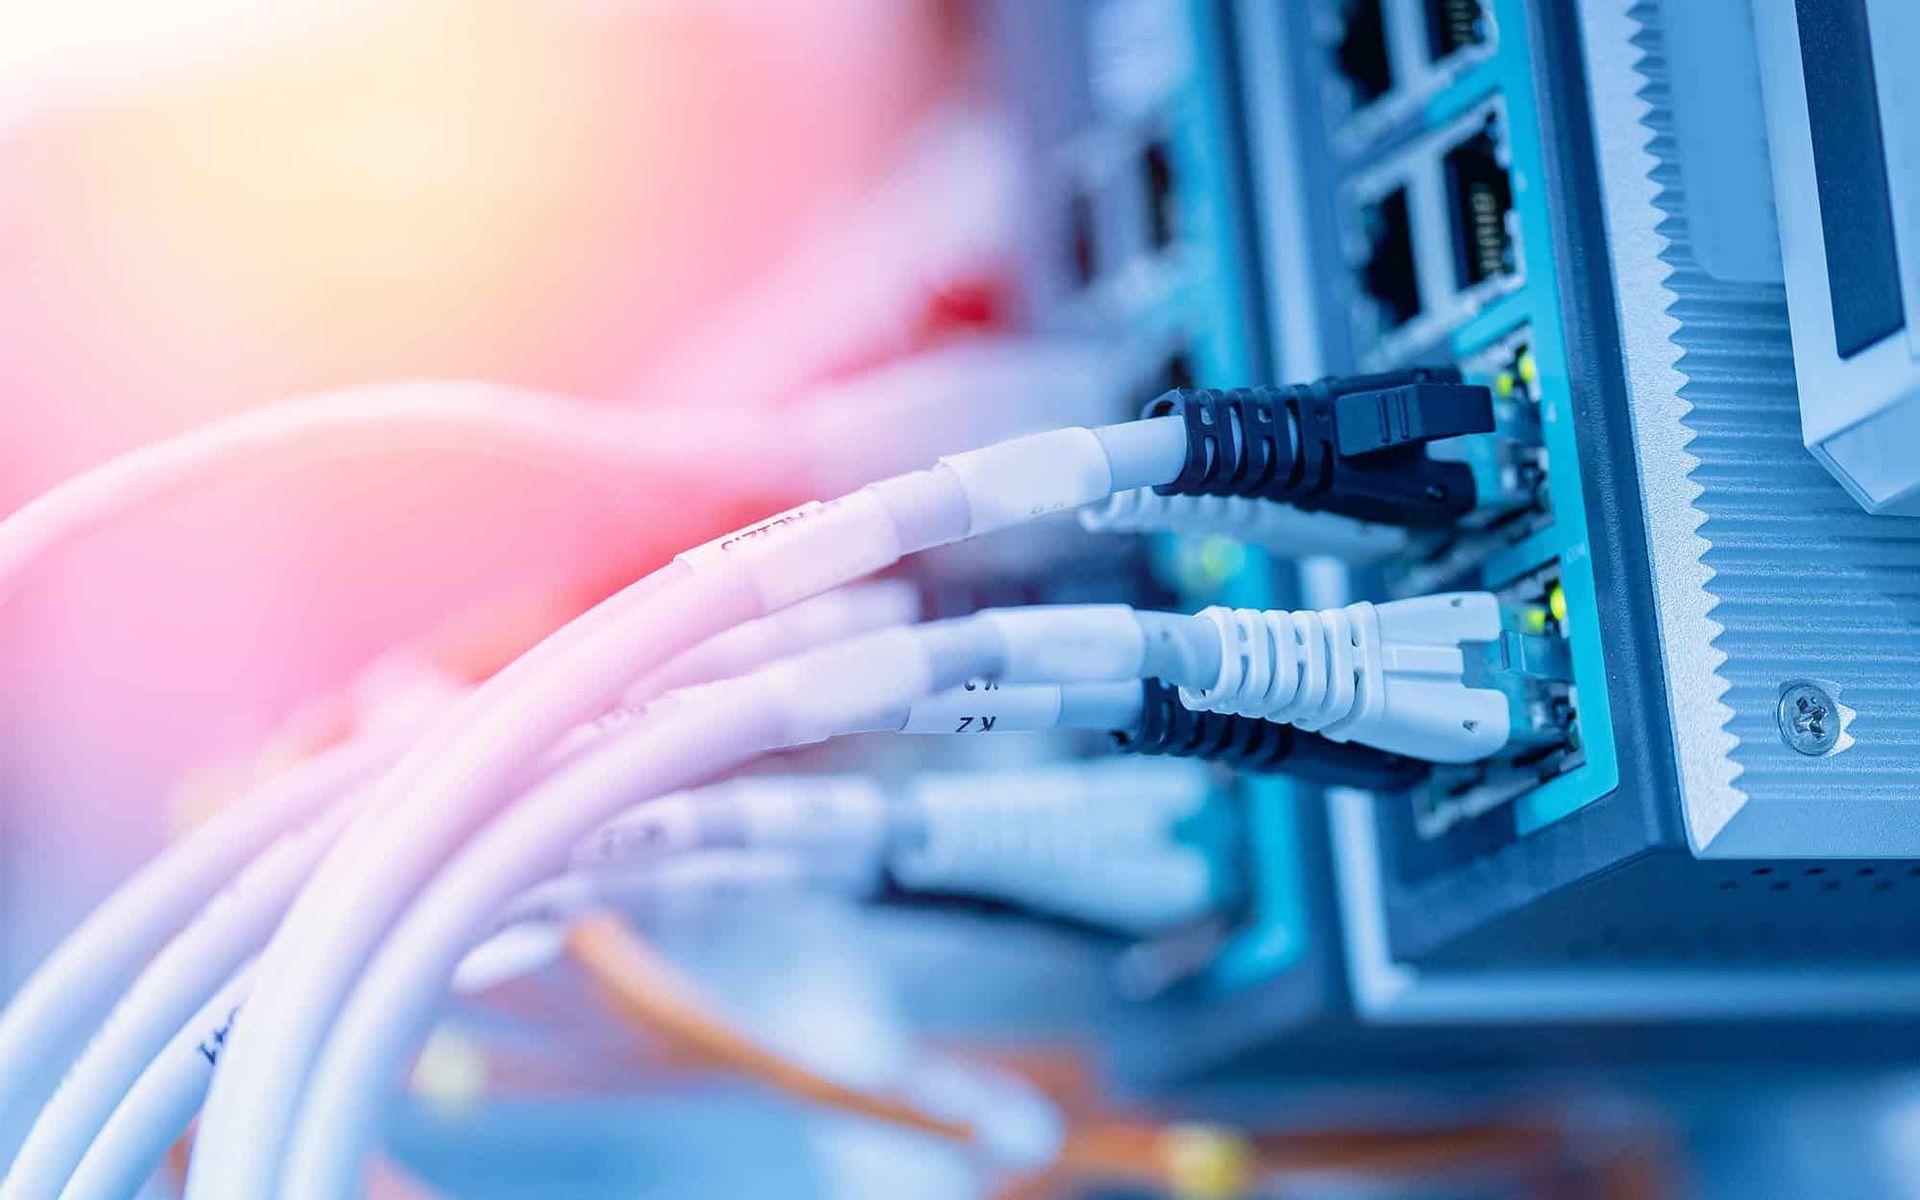
Before diving into installation, it's essential to understand what fiber optics are. Fiber optic cables consist of thin strands of glass or plastic fibers that carry light signals. These cables are capable of transmitting large amounts of data at very high speeds over long distances, making them ideal for internet, cable television, and telephone services.
Essential Tools and Equipment
To begin with fiber optic installation, you'll need some specialized tools and equipment:
- Fiber Optic Cables: Choose the right type of cable (single-mode or multi-mode) based on the application.
- Cable Stripping Tools: For removing the protective coating of the cable.
- Fusion Splicer or Mechanical Splice: For joining two fiber optic cables.
- OTDR (Optical Time-Domain Reflectometer): For testing the integrity of the cable and the quality of the connections.
- Safety Equipment: Including safety glasses and gloves to protect against fiber shards.
Basic Steps in Fiber Optic Installation
Step 1: Planning and Preparation
Before installation, plan your cable route and determine the length of fiber optic cable you will need. Consider the environmental conditions and potential obstacles along the route.
Step 2: Cable Laying
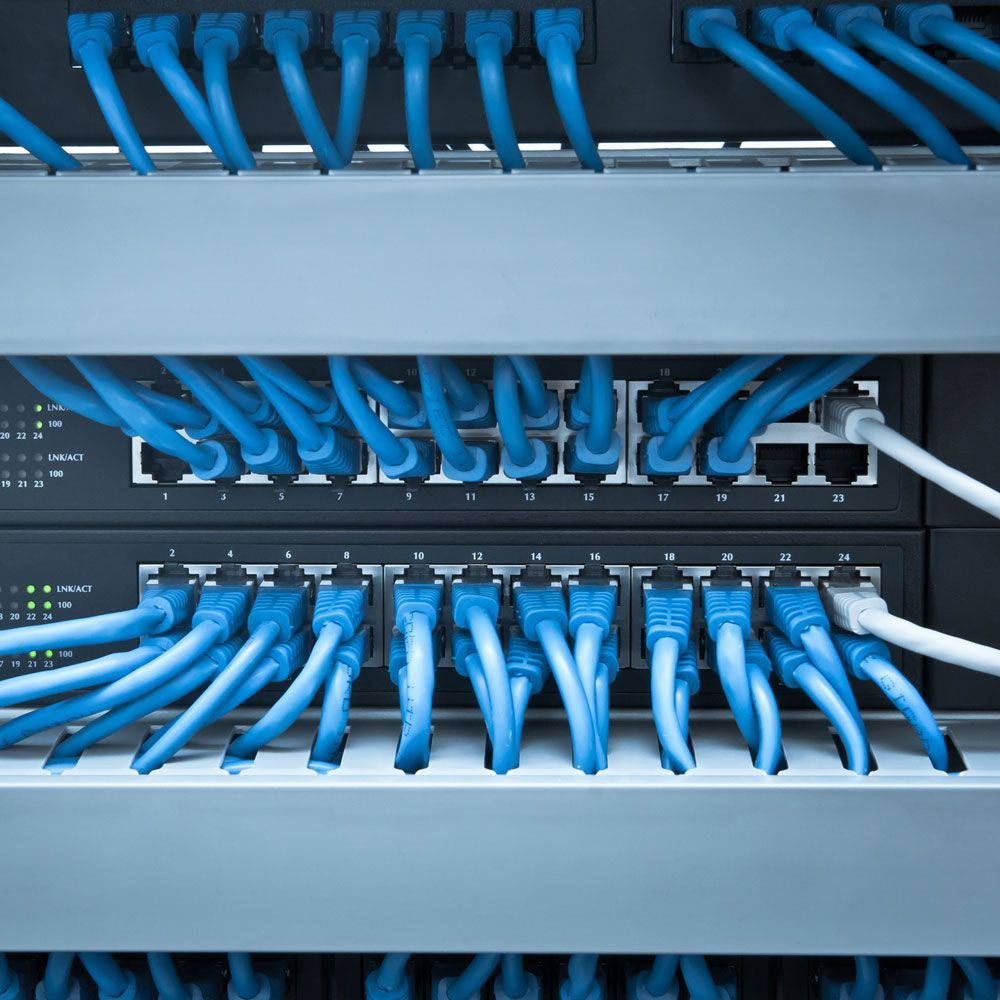
Lay the cable along the planned route. Avoid sharp bends and twists as they can damage the fibers. For outdoor installations, use conduits to protect the cables from environmental factors.
Step 3: Stripping and Cleaving
Use the stripping tools to remove the protective coating of the cable, exposing the bare fibers. Then, use a cleaver to cut the fiber ends, ensuring they are perfectly flat for a proper connection.
Step 4: Splicing
Fiber optic cables can be joined using fusion splicers (melting the fibers together) or mechanical splices (aligning and securing the fibers without fusion). Fusion splicing is more reliable but requires more skill and expensive equipment.
Step 5: Termination
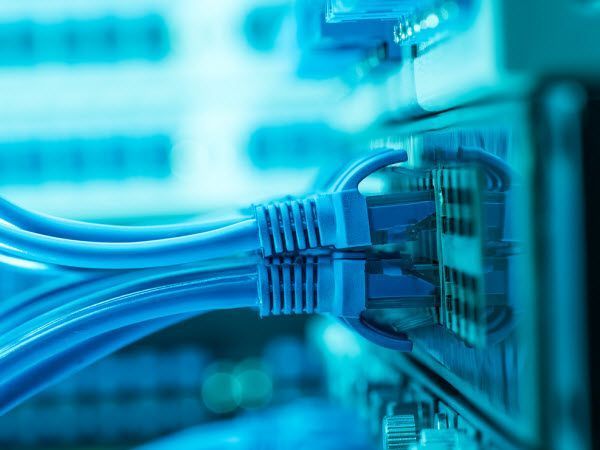
Terminate the cable ends with connectors (like SC, LC, or ST connectors) to link the fiber optic cable to other network equipment. This requires precision and practice to ensure minimal signal loss.
Step 6: Testing
Use an OTDR to test the installed cable. This will help you detect faults, measure signal loss, and ensure the overall integrity of the installation.
Safety Precautions
Safety is paramount in fiber optic installation. Always wear protective eyewear and gloves to handle fiber optics, as tiny glass shards can cause injury. Also, keep the work area clean to avoid contamination of fiber ends.
Training and Certification
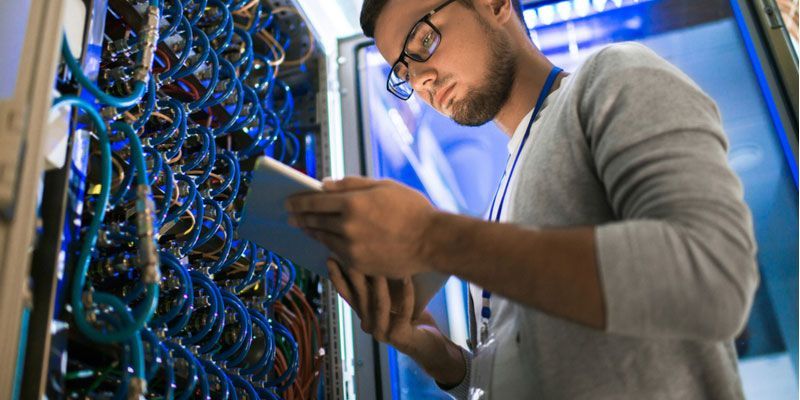
For those serious about fiber optic installation, professional training and certification courses are available. These courses provide in-depth knowledge and hands-on experience, which are crucial for professional installations.
Conclusion
Fiber optic installation is a skill that requires precision, patience, and practice. While this guide covers the basics, real-world installation can be more complex, involving various techniques and considerations. For beginners, it’s advisable to start with simple projects and progressively move to more complex installations, or better yet, work under the guidance of a professional. As you gain experience, you'll appreciate the incredible capabilities and advantages that fiber optics bring to the world of telecommunications.